
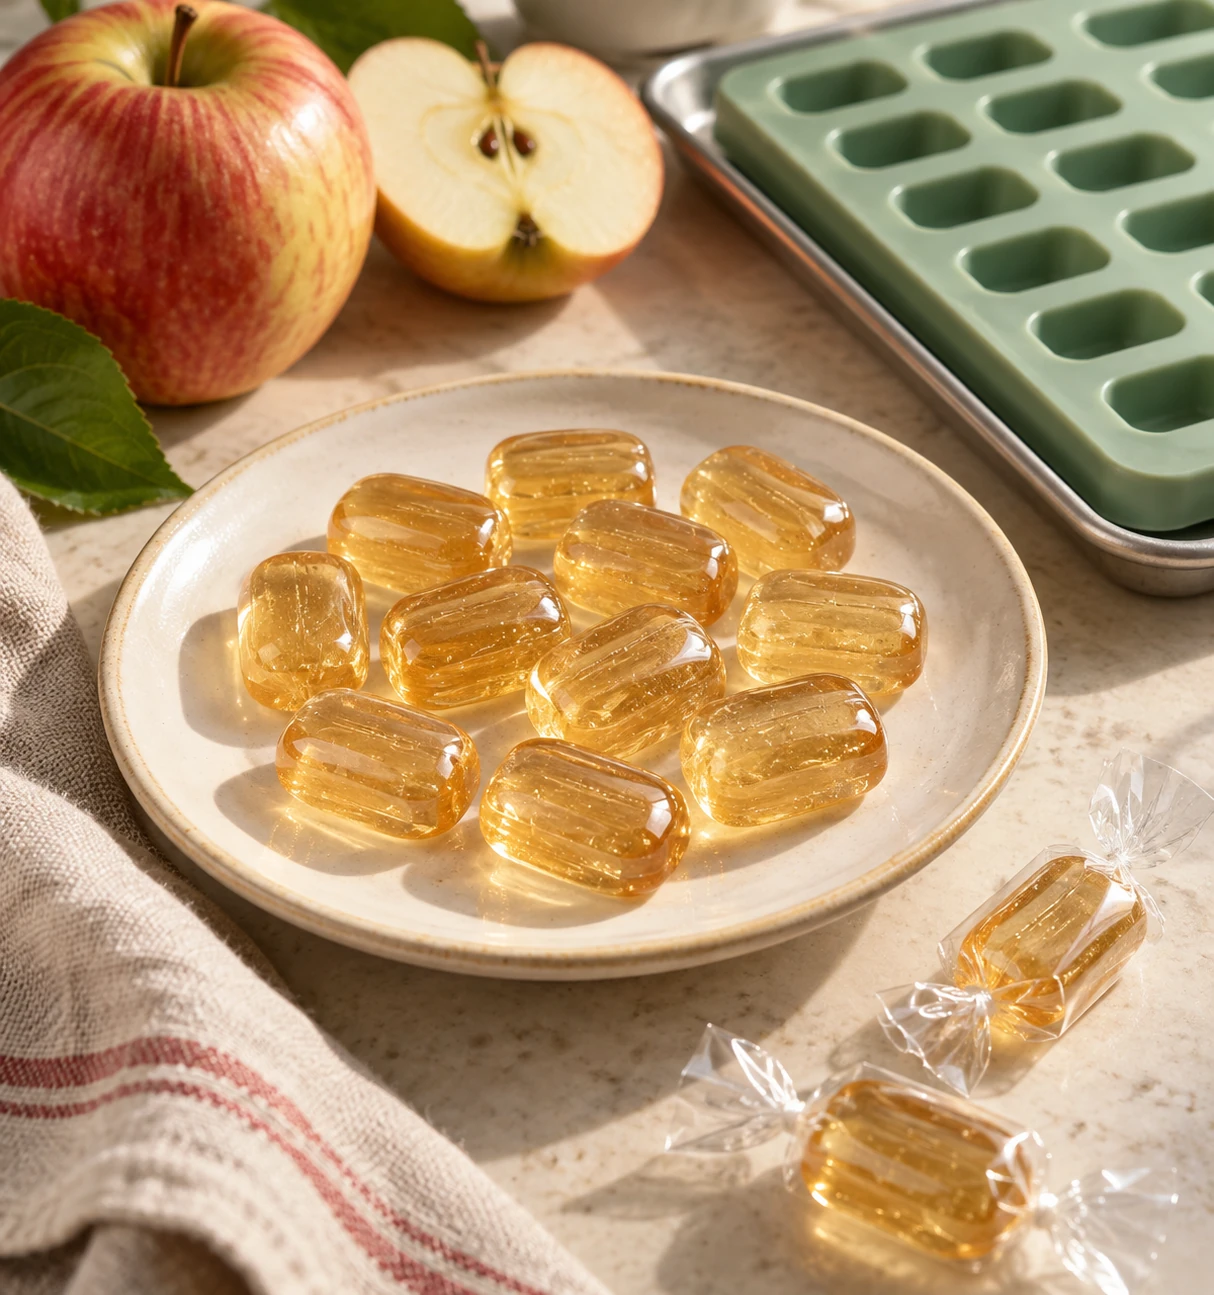
Real Apple-Juice Hard Candy
Small-batch molded sugar glass with real apple juice, a gentle fruit note and natural golden color. Original adaptation; not kitchen-tested.
Method
Read first & check your molds
Keep children and pets away; wear closed shoes and cover exposed skin. Verify food-contact approval and the maker’s express approval for hot hard-candy pours. The mold rating must be above the actual maximum pour temperature, including residual-heat carryover, not merely equal to the cooking target. Prefer food-grade silicone hard-candy molds rated 350°F / 177°C or higher as a safety margin; that number alone does not establish suitability, and an oven rating alone is insufficient. If approval or adequate heat margin cannot be verified, do not use the molds. Unverified ice/chocolate molds, ordinary plastic, PLA and resin are not suitable. Set clean, completely dry molds flat on the dry metal tray on a stable heatproof surface. Follow the maker’s release instructions; silicone generally needs no grease. Have all ingredients and dry mitts ready. Never hold a mold in your hand while pouring.
Set a thermometer-based endpoint
Before making syrup, test the same thermometer in boiling water without touching the pan bottom. At sea level, accurate instruments read 212°F / 100°C and the candy target is 300°F / about 149°C. Using USU’s observed-boiling adjustment: Target reading = 300°F + (boiling-water reading − 212°F). For example, a 208°F boiling reading gives a 296°F target. This accounts for the observed local boiling point and thermometer offset: do not also subtract a separate altitude correction. Replace an erratic thermometer. Empty the test water and dry the saucepan and thermometer exterior thoroughly.
Dissolve the measured syrup
Combine all the sugar, light corn syrup and apple juice in the heavy saucepan. Heat over medium-low to medium heat, stirring gently only until the sugar dissolves. Clip the thermometer securely with its sensing area in the syrup and its tip off the pan bottom; verify the required immersion depth. This small batch must not be cooked in a wide pan that leaves the probe uncovered. The juice goes in now, so its water cooks away; add no fresh fruit, puree or extra liquid later.
Boil without stirring to hard crack
Once the syrup boils, stop stirring. Cook at a controlled boil, watching continuously, until the thermometer reaches your adjusted hard-crack target (300°F / about 149°C with an accurate sea-level reading). Lower the heat as the target approaches to avoid overshooting or scorching. Allow roughly 15–20 minutes for dissolving and cooking, but the calibrated temperature—not the timer—determines completion. Remove from heat immediately at the target; residual heat continues cooking the syrup.
Pour gradually, then leave untouched
Wait only until vigorous bubbling settles; the syrup must still pour freely. Using thick dry mitts, pour slowly and close to each cavity, without overfilling or splashing. Keep the tray and molds stationary. Do not scrape the pan, touch or taste hot syrup, add juice or water, put the hot pan in ice water, or move a filled flexible mold. Leave undisturbed at room temperature until completely cold and firm, at least about 30 minutes, longer if needed; cooling depends on cavity size. Do not refrigerate to speed cooling.
Unmold, wrap & keep dry
Only after complete cooling, flex the molds to release the candy. Use the optional confectioners’ sugar for a light dusting of cooled pieces, or omit it for a glossy finish. Individually wrap with food-safe candy wrappers and store airtight in a cool, dry place away from heat and sunlight; do not refrigerate. Expect about 30–40 candies with 5 mL cavities, fewer with larger cavities. The candy should snap like brittle sugar glass. Freshly cooled candy that bends or stays chewy may be undercooked; humidity can also soften properly cooked candy, including during storage. Texture alone does not prove a missed endpoint. Do not try to fix it by adding fruit or water.